


Flutter
1. 准备工作
需要 java 环境
1. 安装 IED Android Studio
下载 Android Studio 和应用工具 - Android 开发者 | Android Developers
1.2 下载插件
- Dart
- Flutter
- Flutter Snippets (Flutter 提示词)
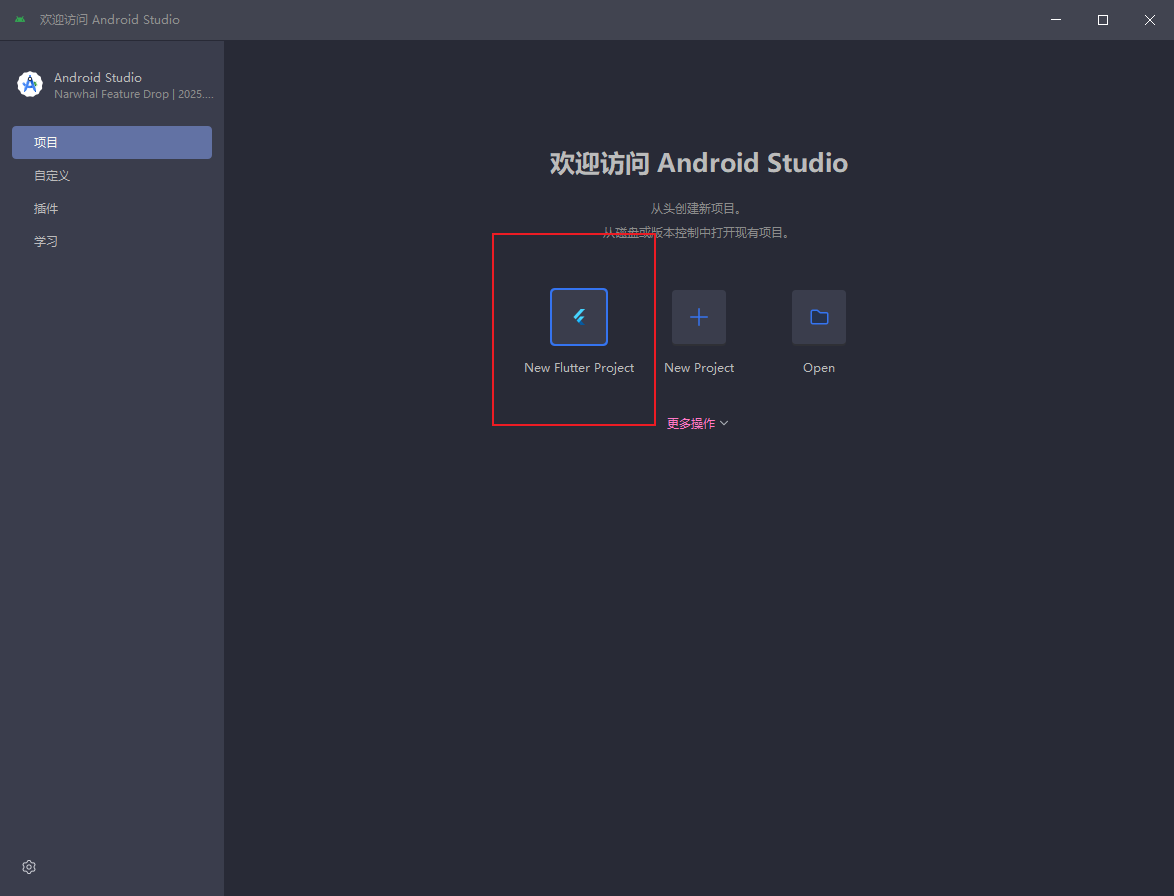
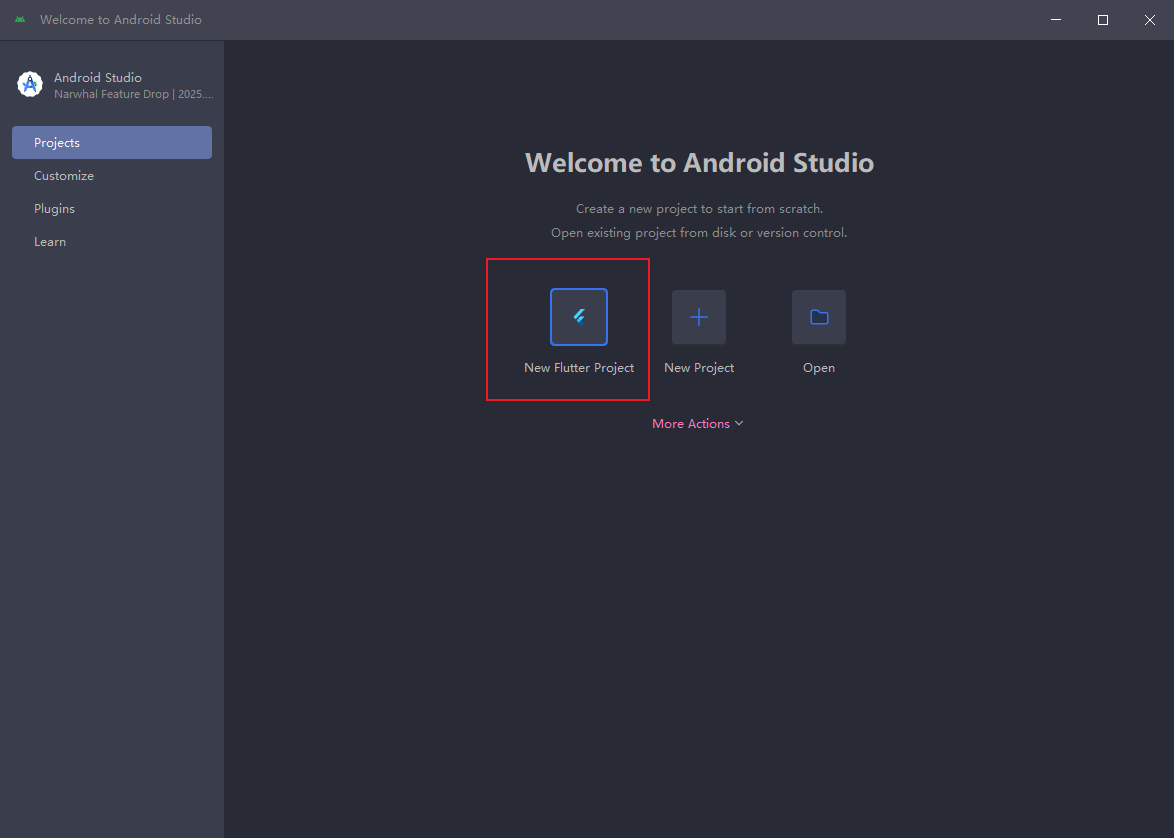
安装完成后重启再 project 页 出现 New Flutter Project 即为成功
2. Flutter SDK
2.1 安装 Flutter
归档列表 | Flutter 中文文档 - Flutter 中文开发者网站 - Flutter
选择最新即可
解压
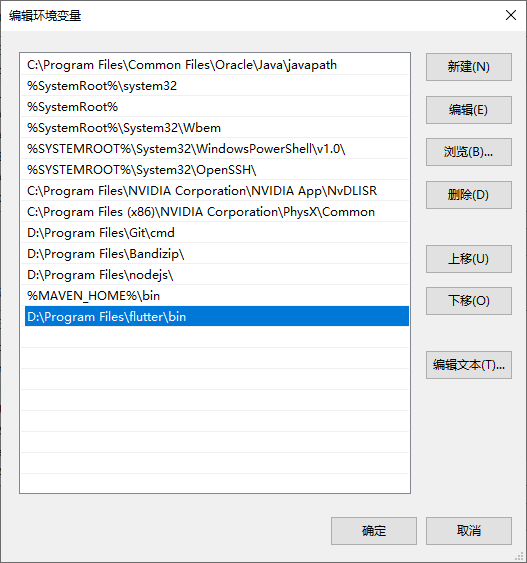
2.2 配置环境变量
将解压出来 Flutter/bin 放到环境变量 Path 中
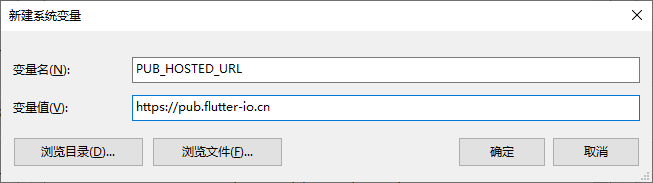
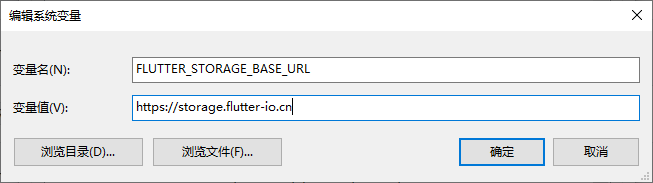
2.3 配置国内镜像(可选)
参考: 在中国网络环境下使用 Flutter | Flutter 中文文档 - Flutter 中文开发者网站 - Flutter
添加环境变量 :
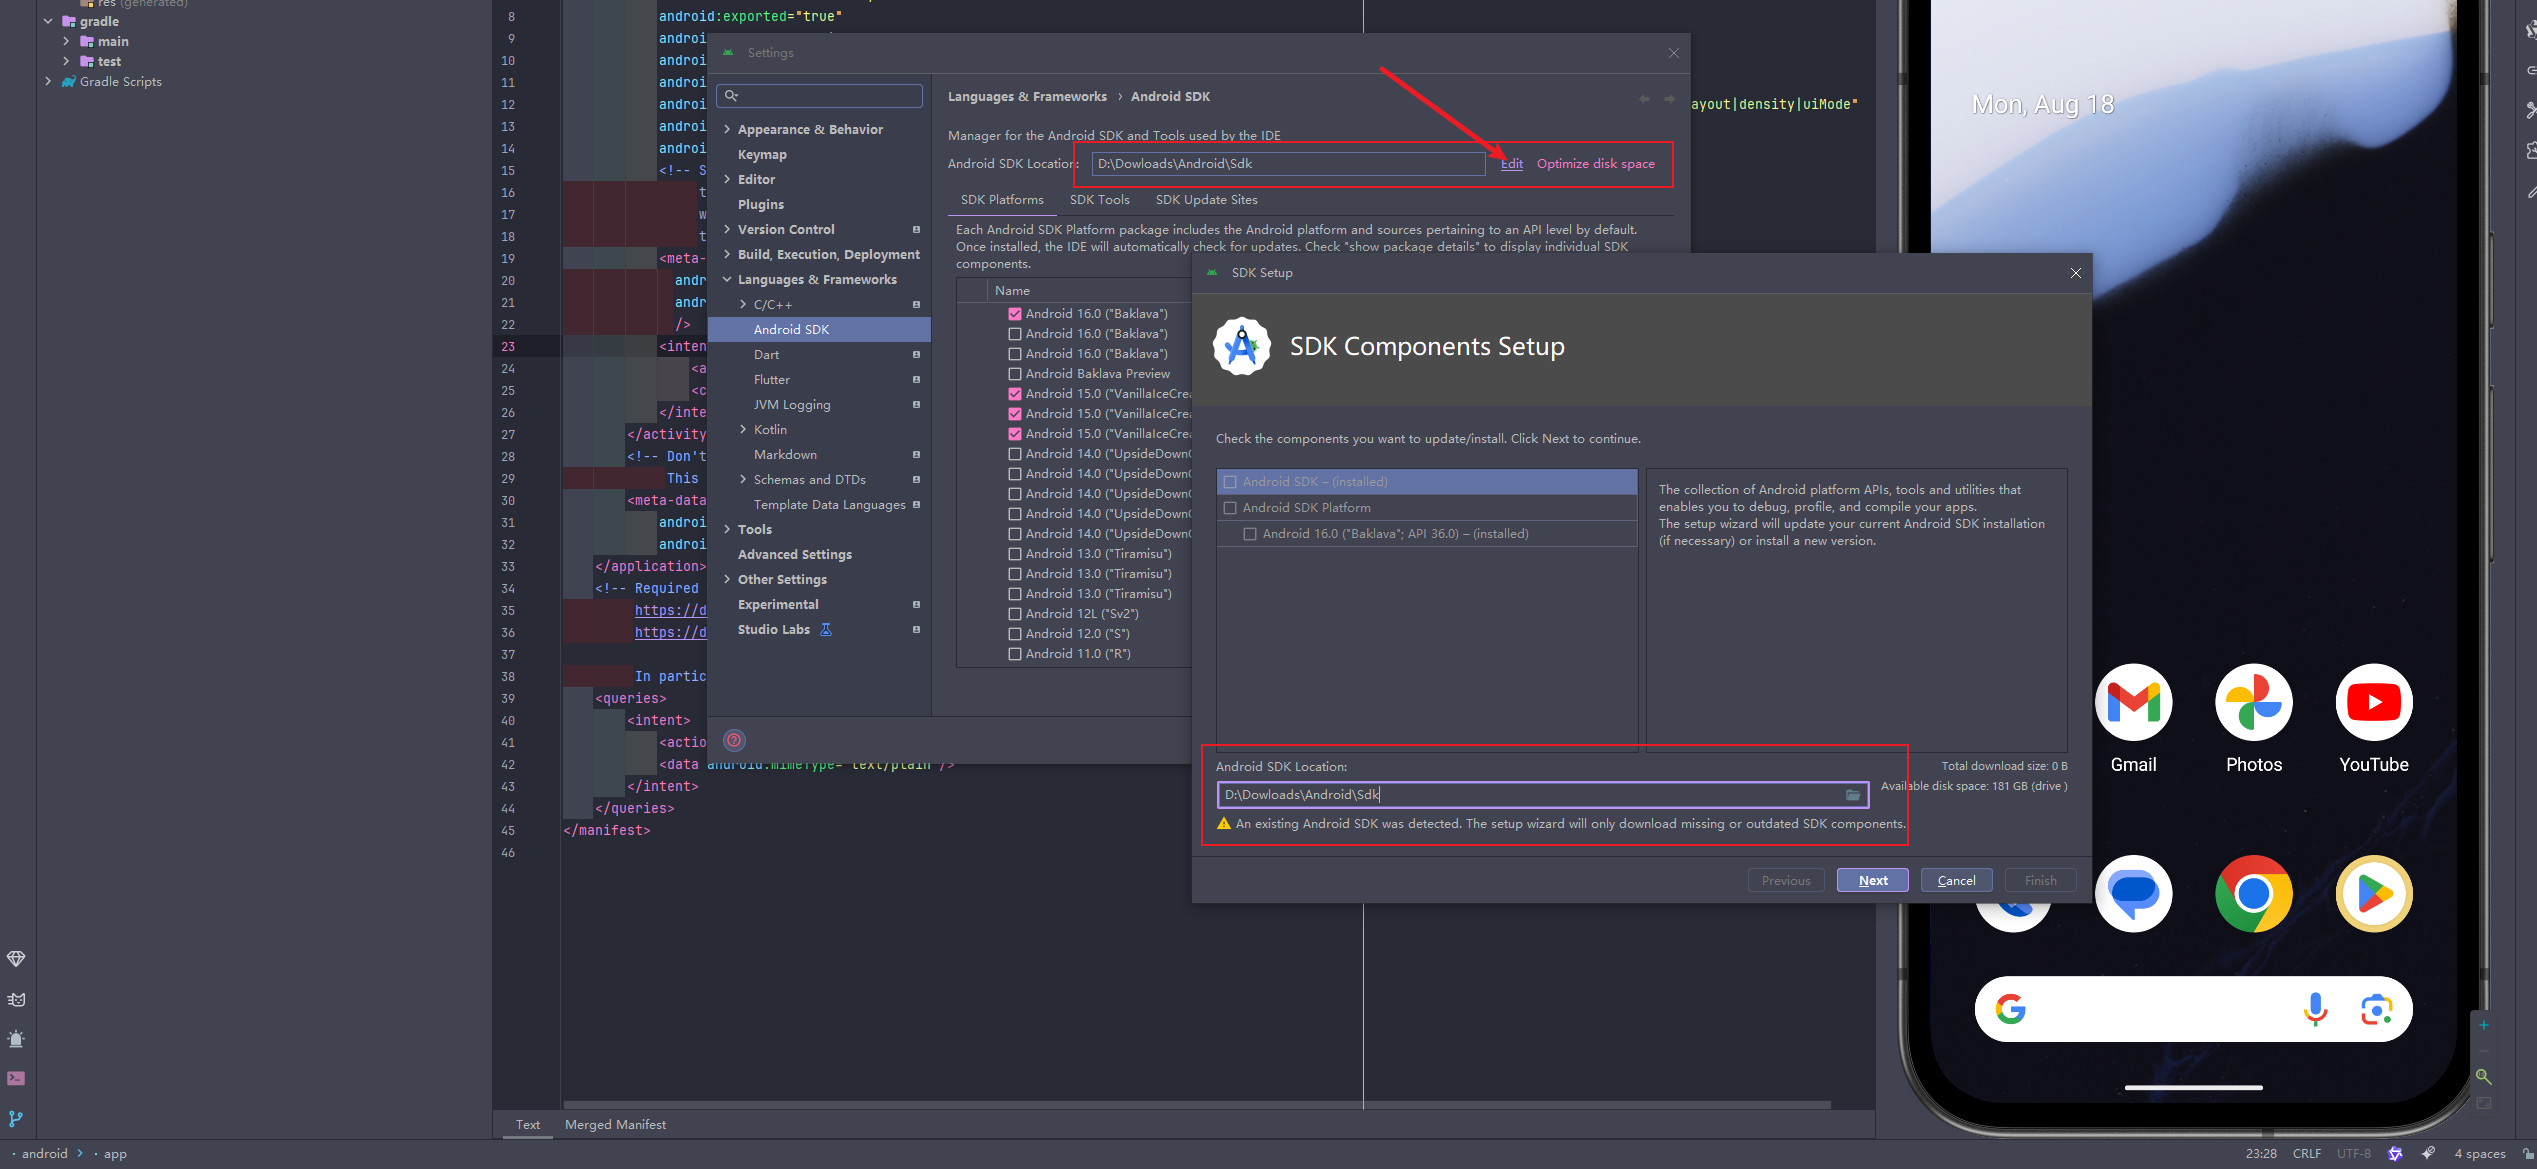
2.4 更改 Android SDK 目录(可选)
默认的 SDK 目录在 C 盘更 可以选择更改
- 在你想放 SDK 的目录创建文件夹 Android -> Sdk
- 打开 Android Studio
- 打开设置 -> Languages & Frameworks -> Android SDK
- 招到 Android SDK Location 右边的 Edit 点击 随后在新弹出的窗口内更改位置
2.5 检查是否安装成功
使用管理员权限打开 cmd 或者 powershell 输入
flutter doctor
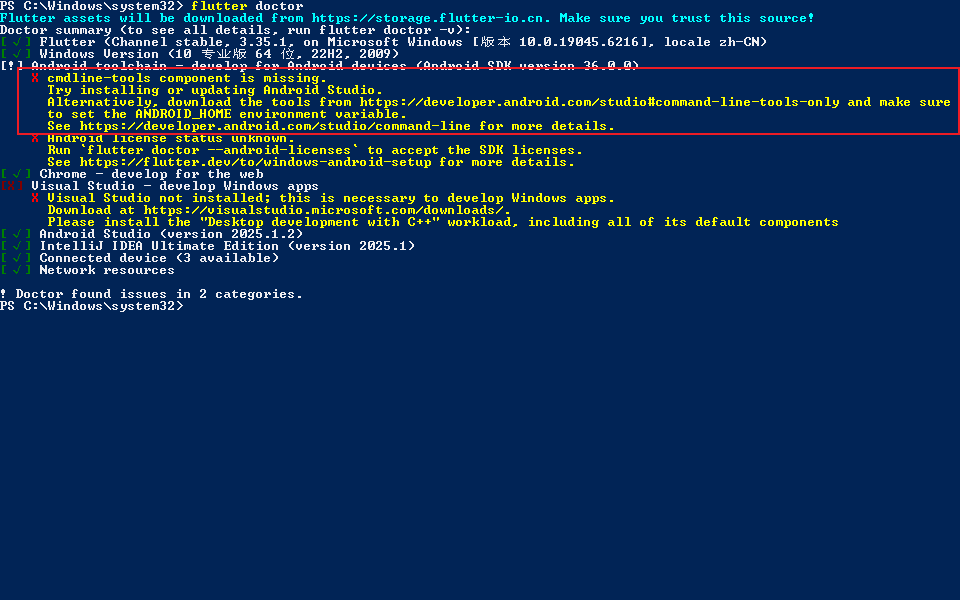
如果出现这种错误 需要解决 方法如下
-
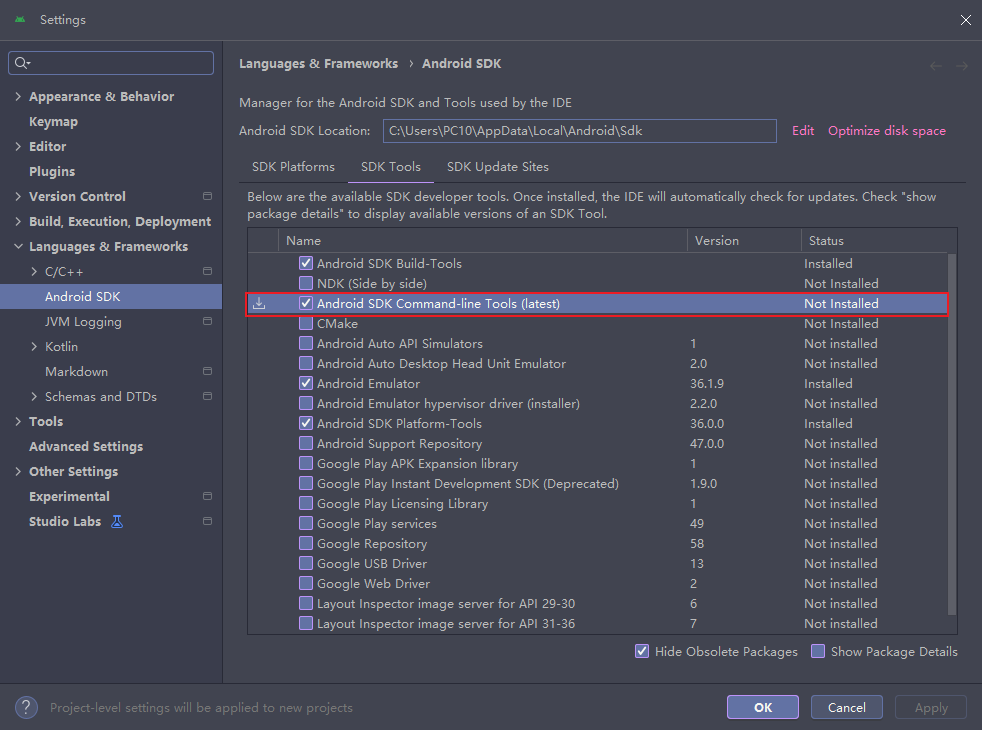
打开 Android Studio
-
打开设置(setting) -> Languages & Frameworks -> Android SDK
-
选择 SDK Tools
-
将 Android SDK Command-line Tools(last) 勾选
-
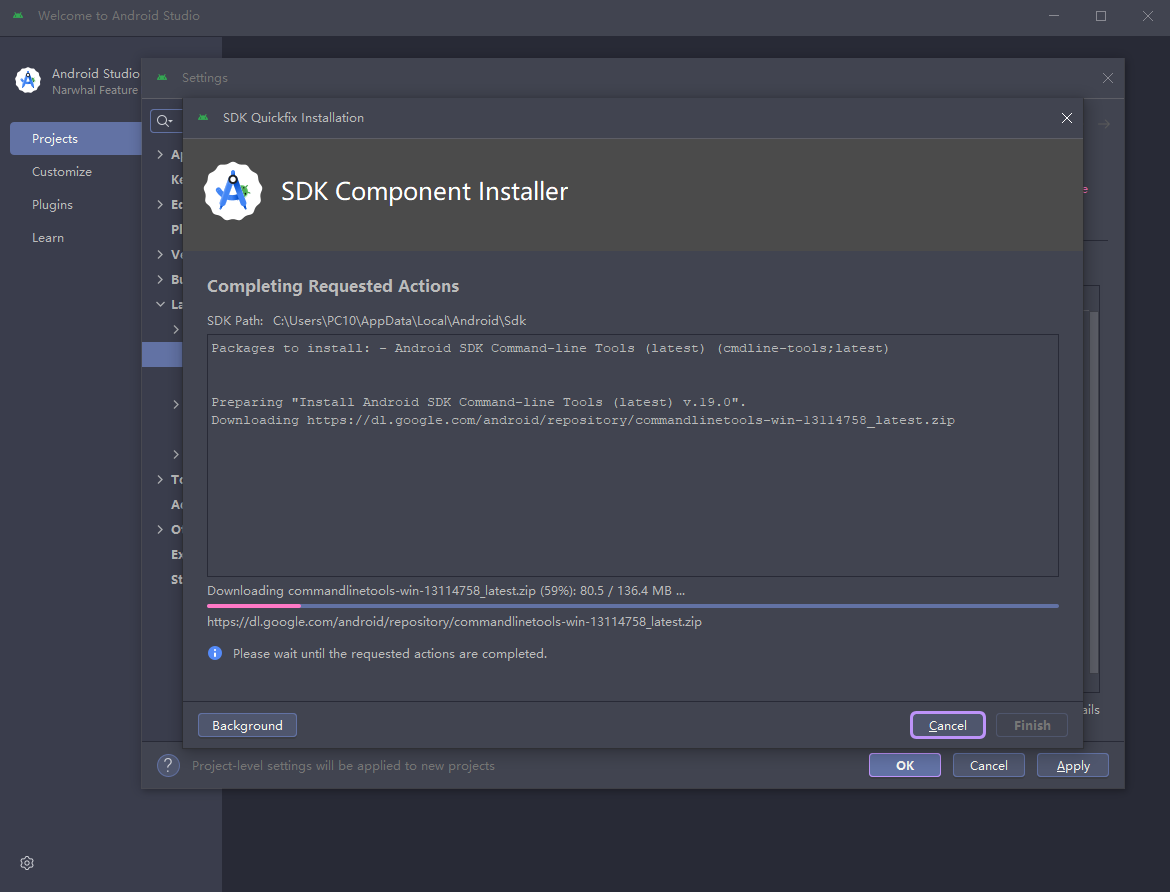
点击确定等待安装
-
再次在 cmd 或者 powershell 输入
flutter doctor如果你修改过 Android SDK 位置的可能需要输入 flutter config --android-sdk:<你的 Android SDK 地址 绝对路径> 随后就可以再次运行 flutterdoctor
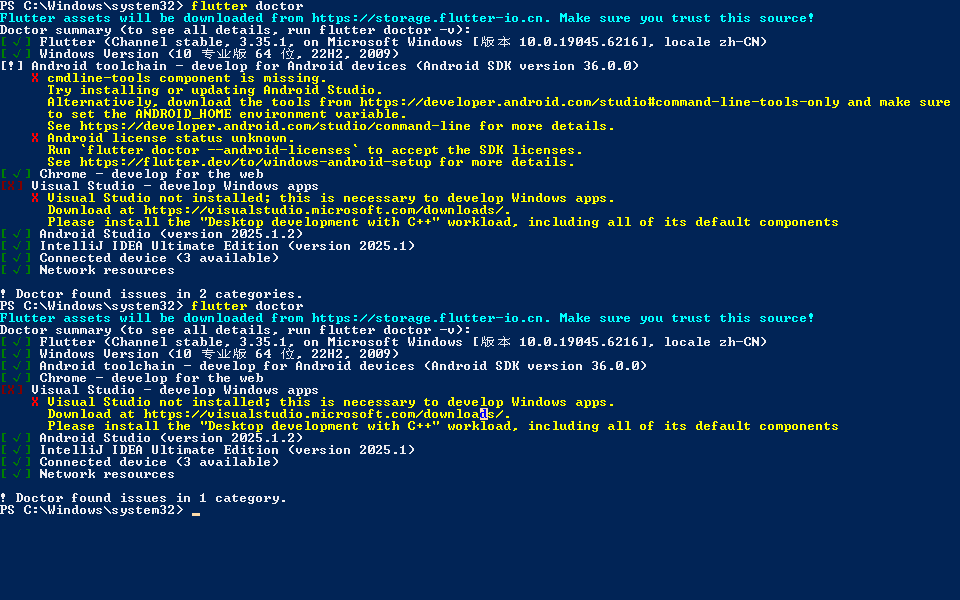
如果还提示

再继续运行
flutter doctor --android-licenses全部选择 y
3. 新建 Flutter 项目
点击 New Flutter project
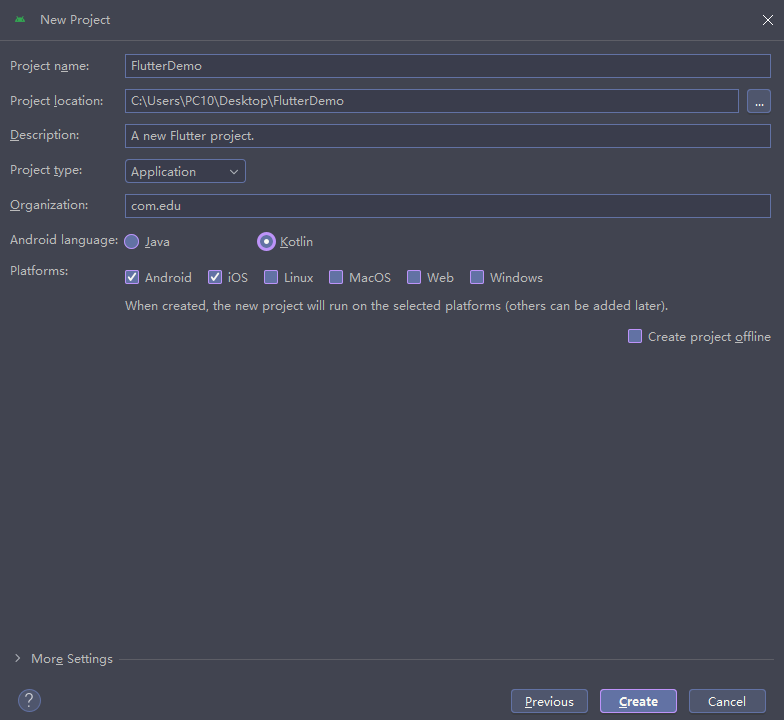
选择 Flutter 并选择 Flutter SDK 安装位置

选择工程名称(全小写)、路径、平台
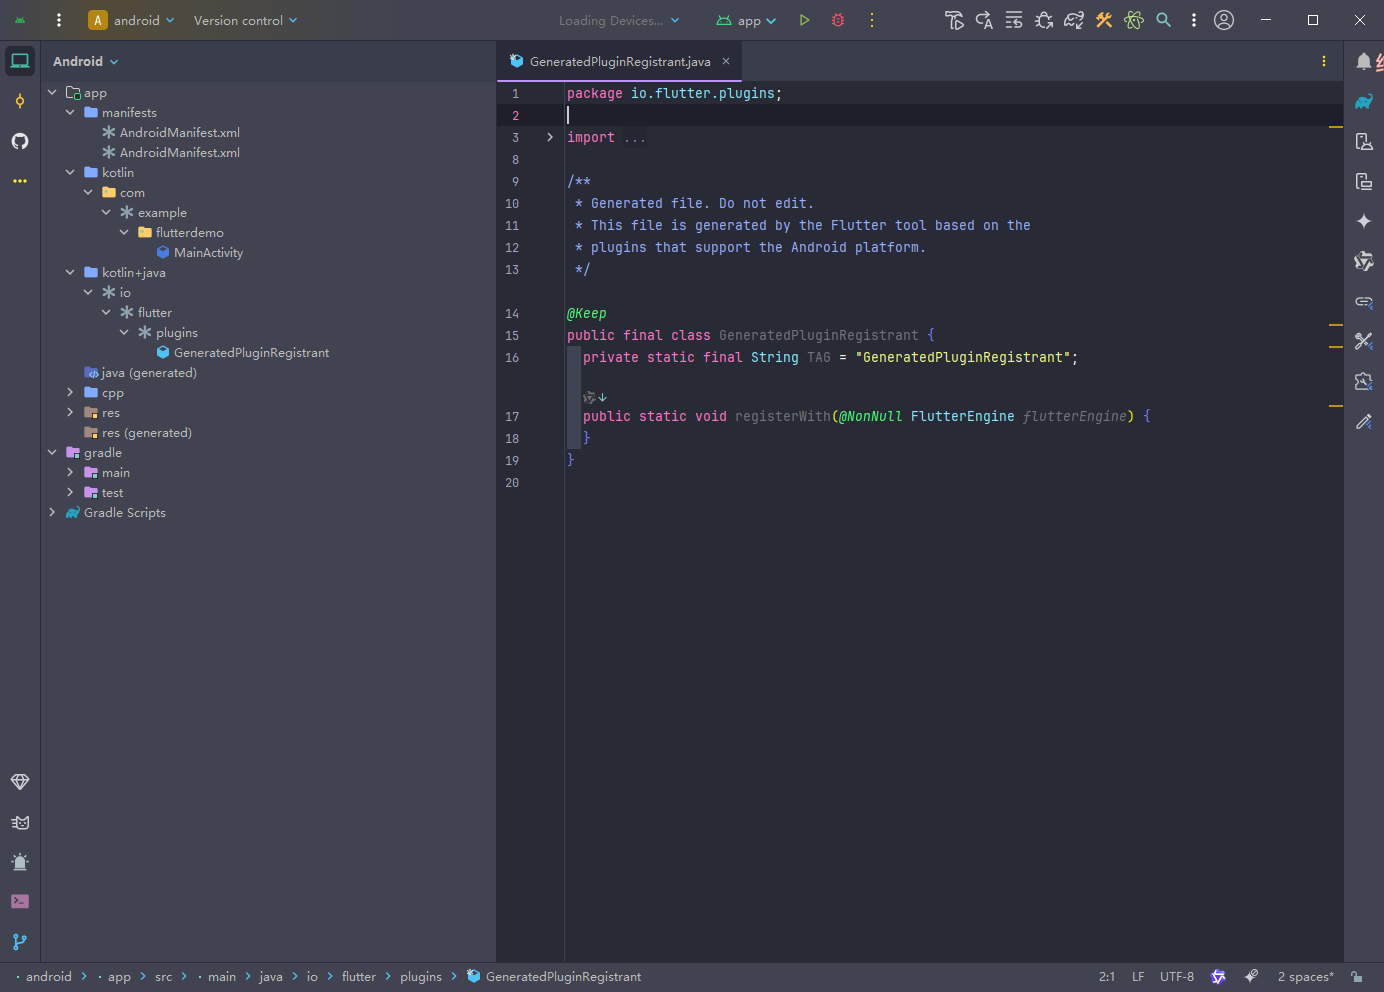
4. 运行项目
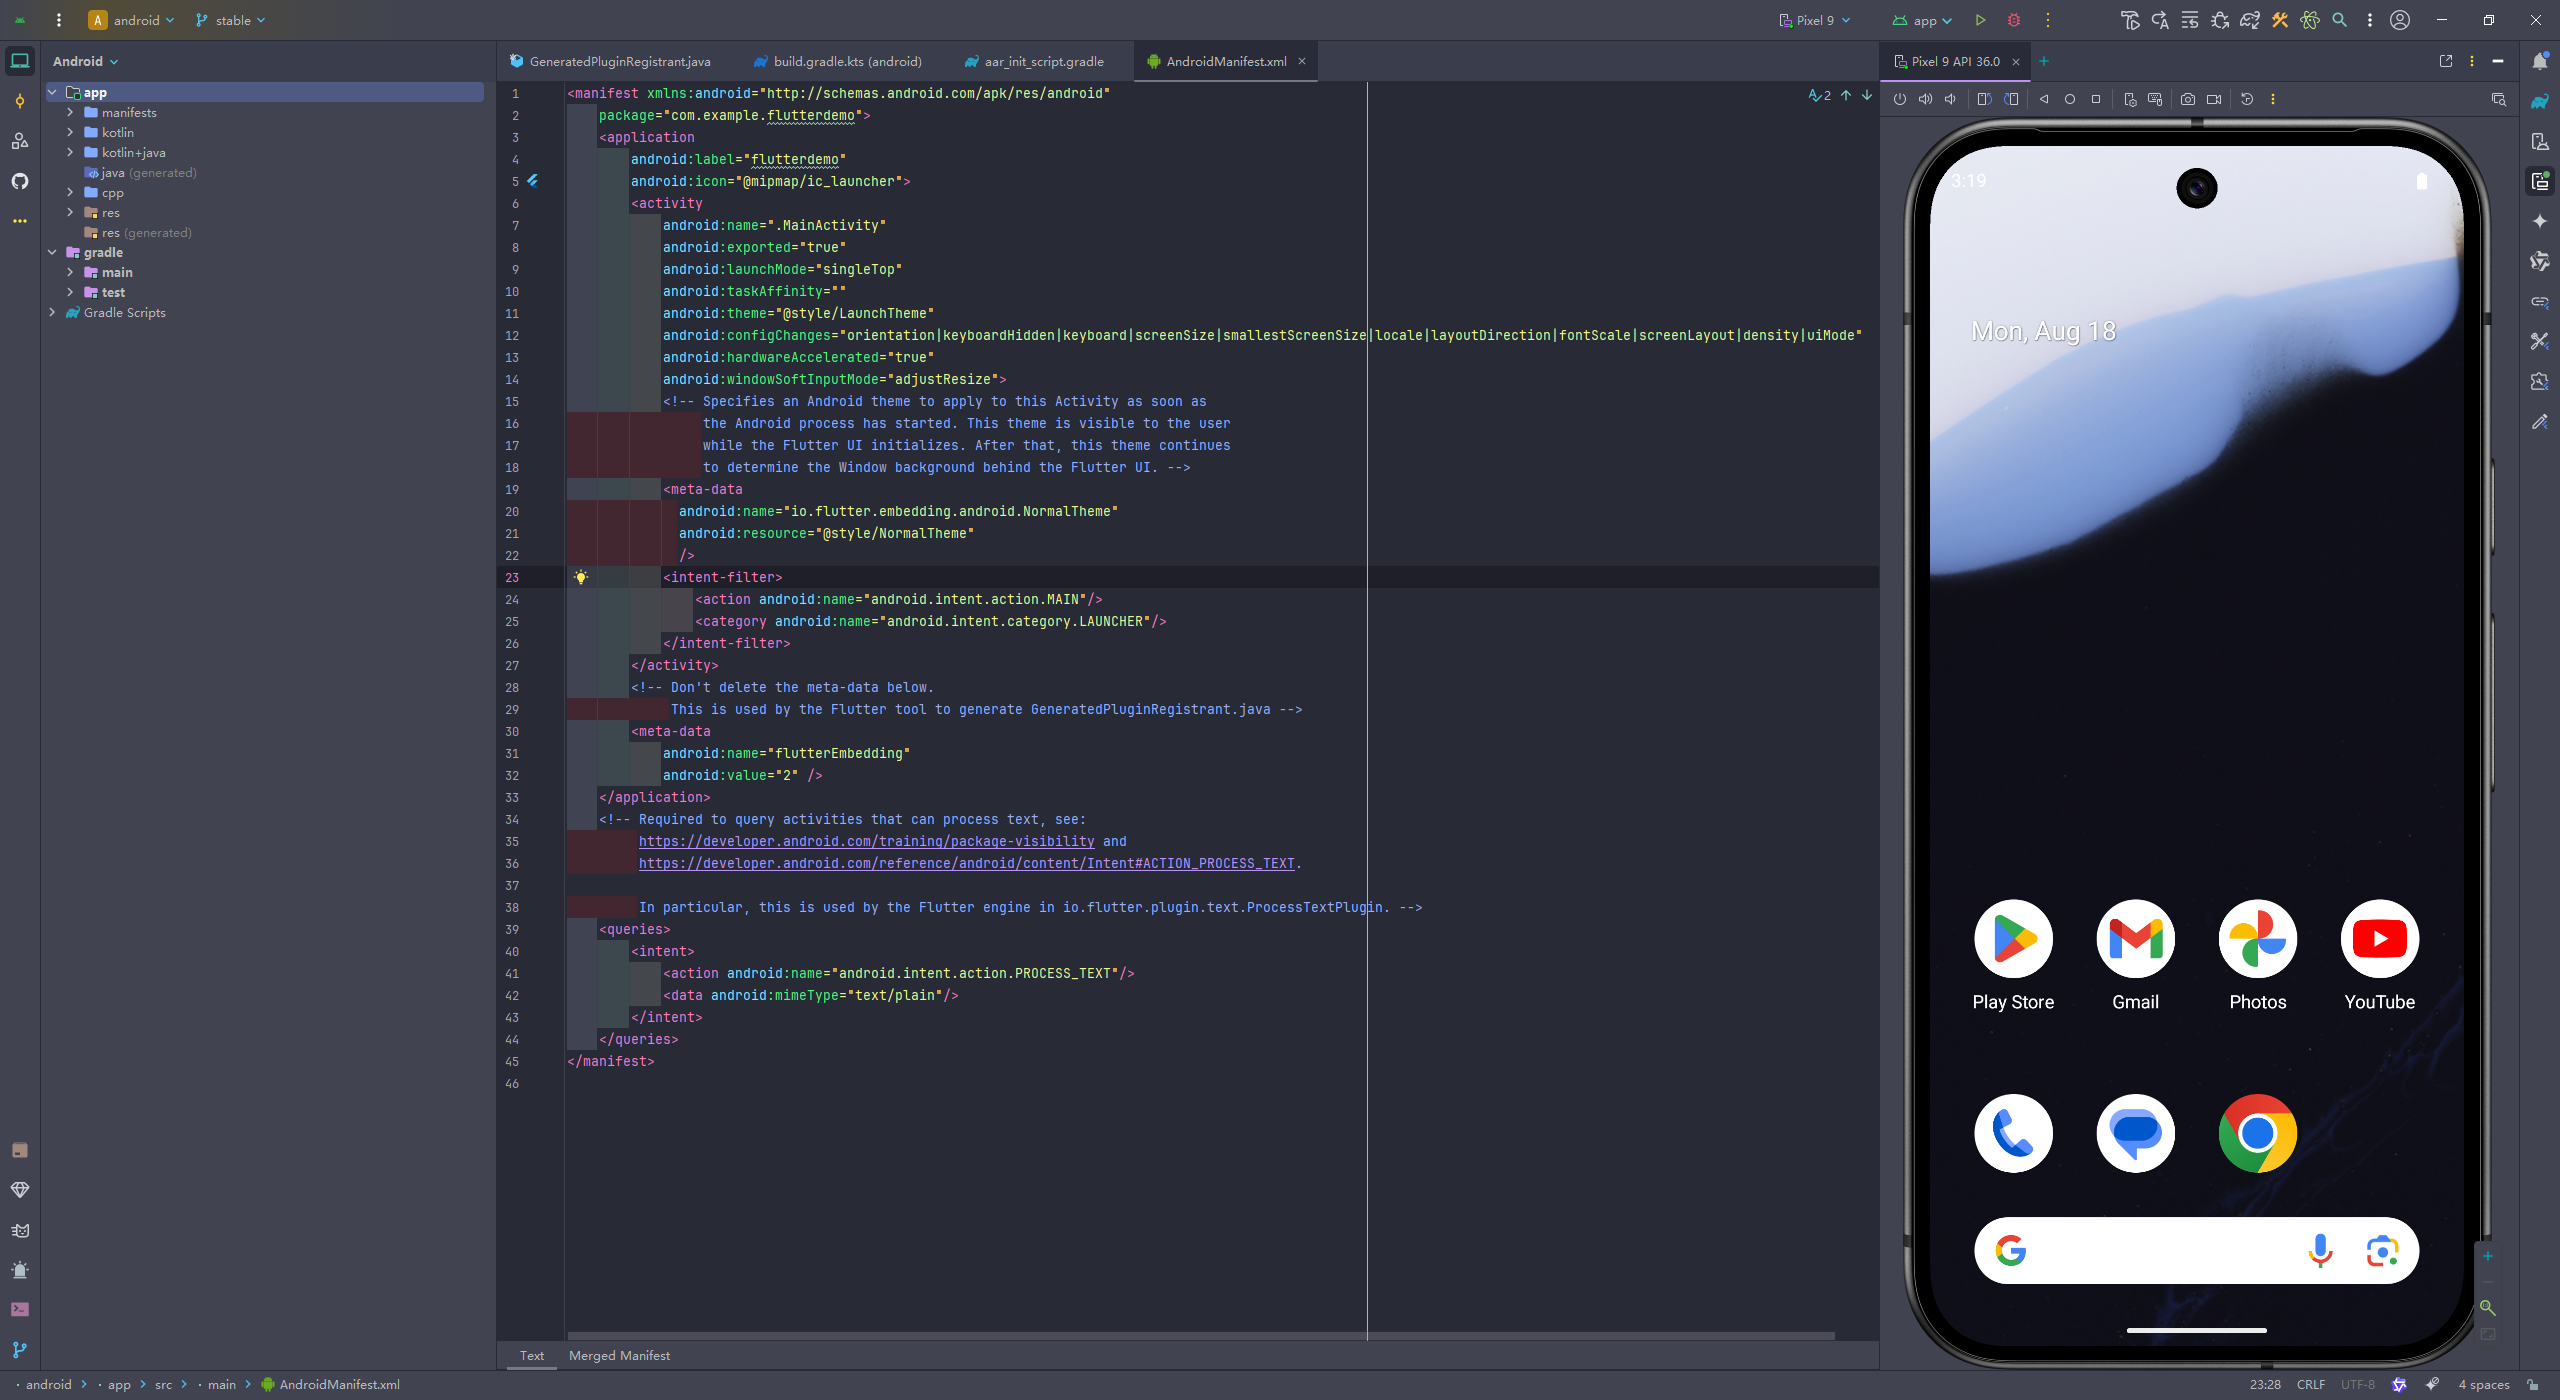
首先左上角 Flie -> Open 招到该项目的 Android 文件打开
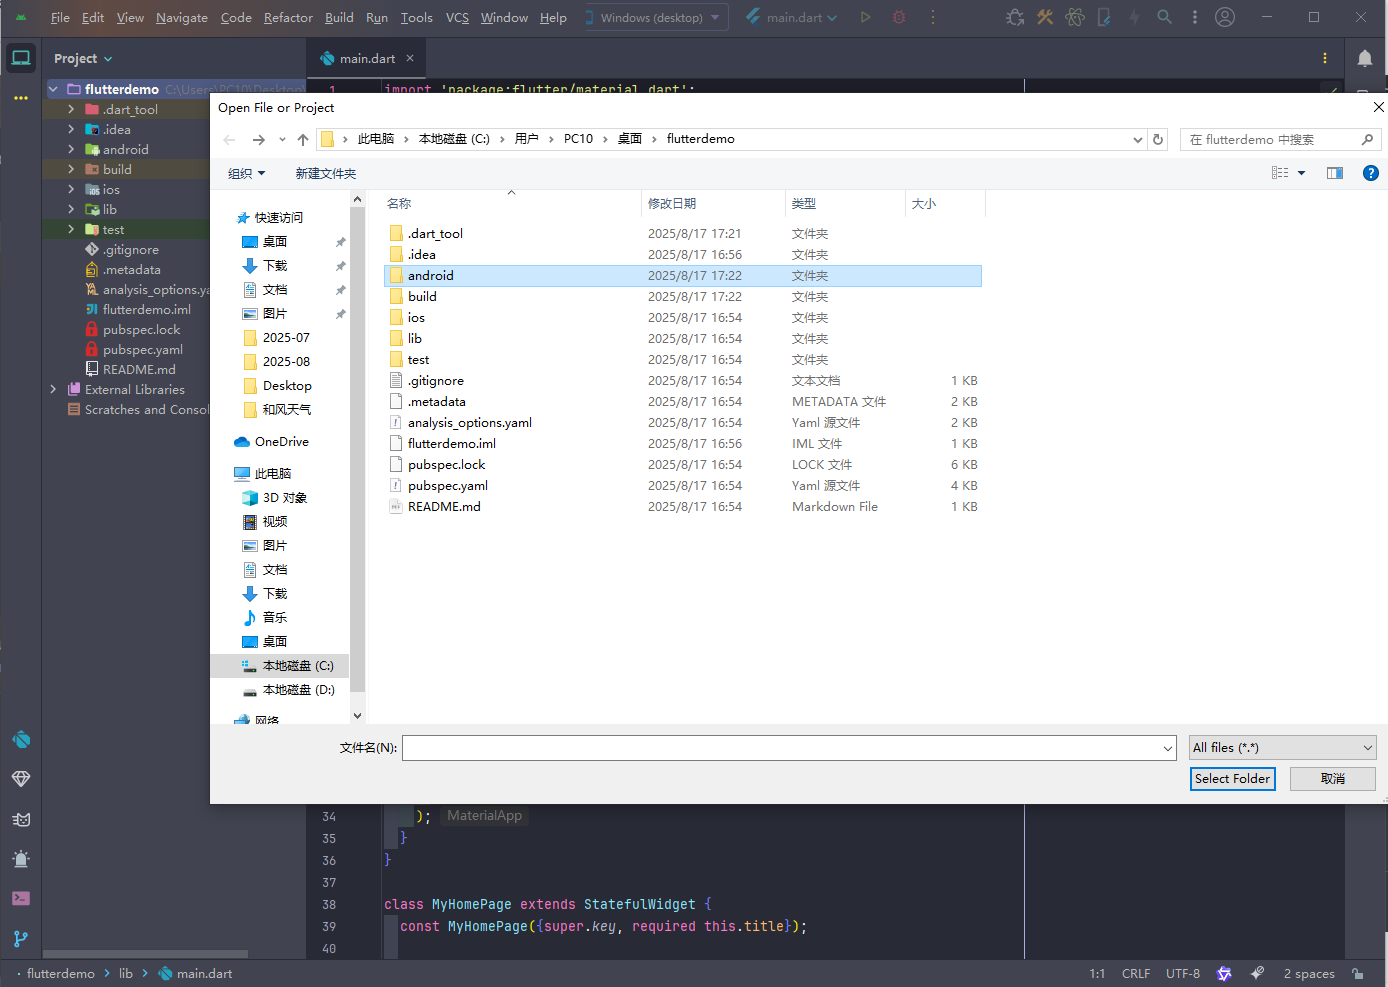
第一次进来可能要下 10min 左右
随后链接手机 -> 打开开发者选项 -> 打开 USB 调试 -> 打开 USB 安装
随后在项目内点击启动即可
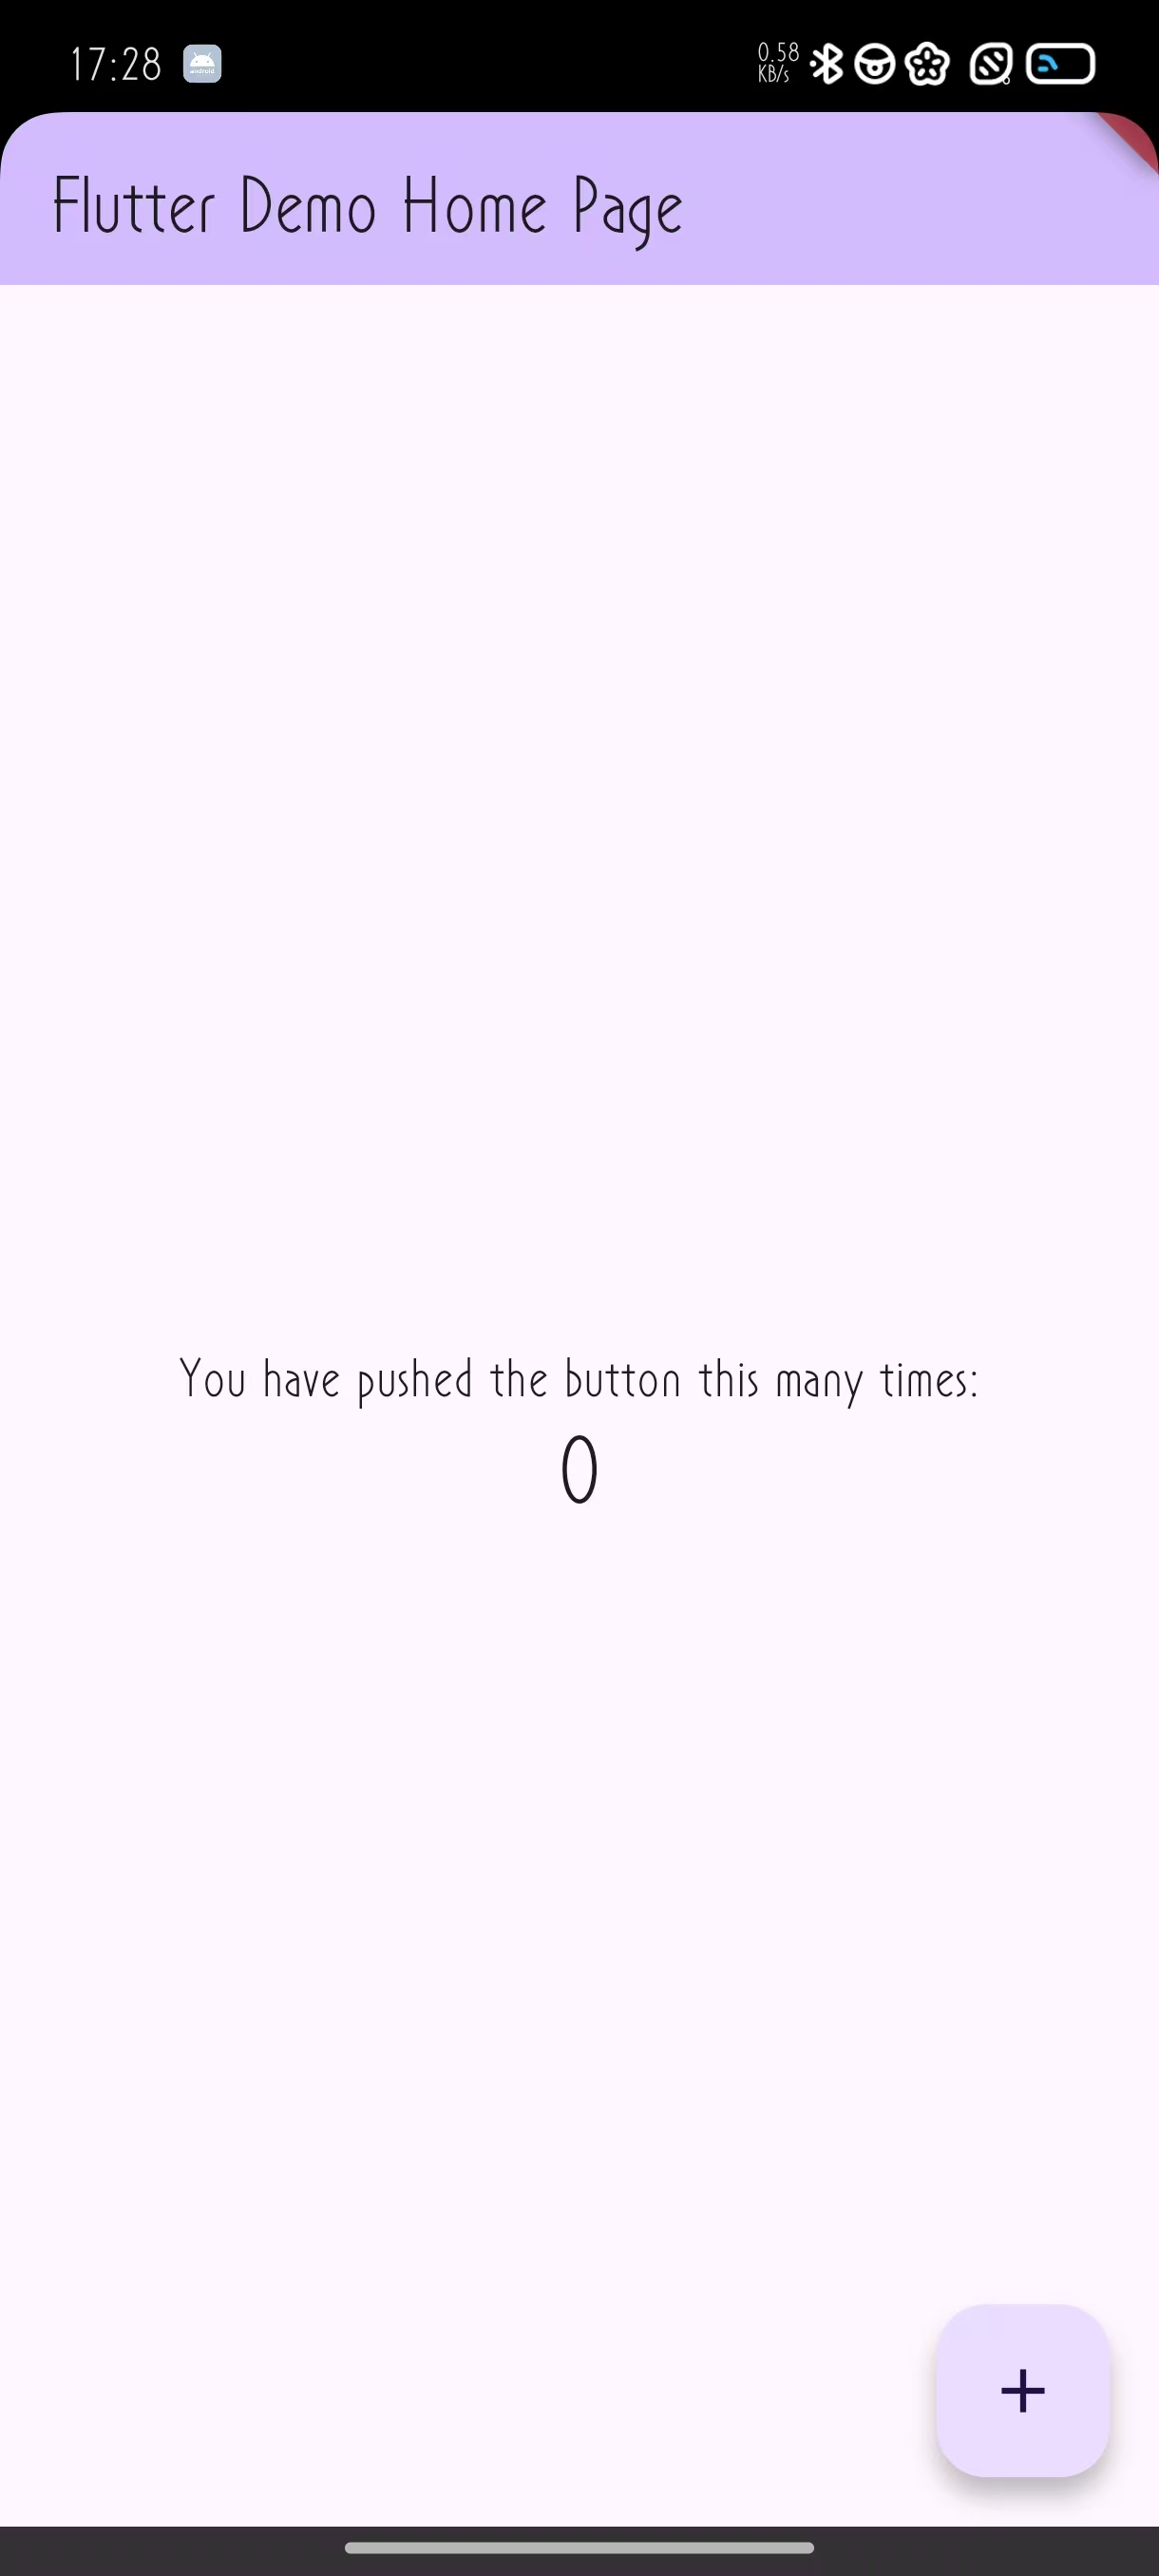
5. 真机调试
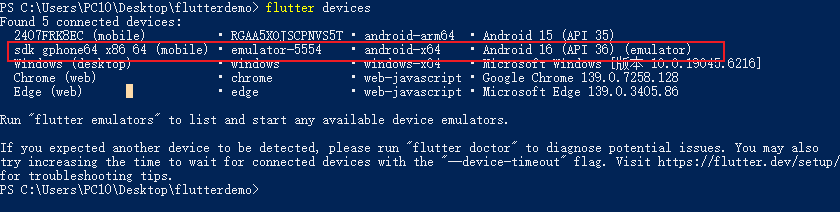
打开 cmd 或者 PowShell cd 进你的项目内(不是 Android 文件夹)
使用
flutter devices
检查当前的链接设备
flutter run
将项目运行起来
6. 虚拟机调试
- 使用 Android Studio 自带的虚拟机
- 使用第三方虚拟机
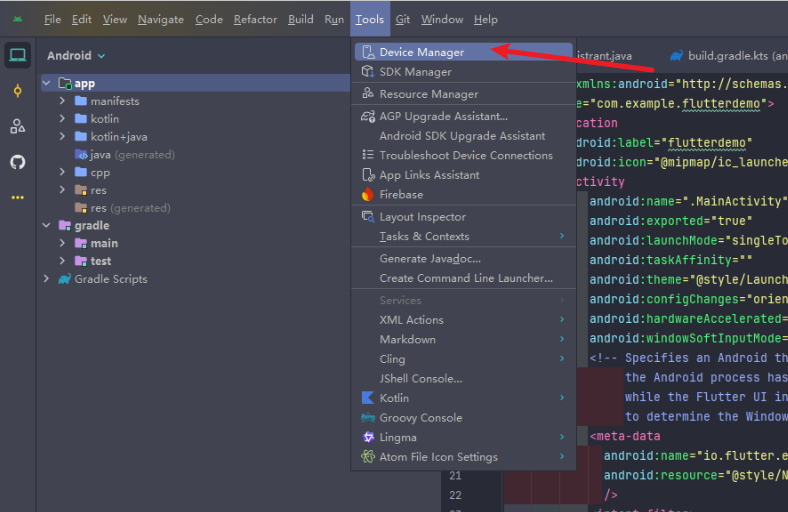
6.1 使用 Android Studio 虚拟机
-
打开 Android Studio
-
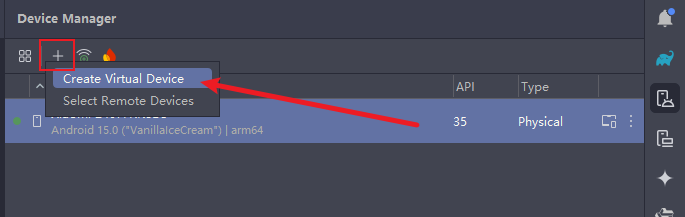
点击左上角三个点 -> Tool -> Device Manager
-
或者直接侧边栏
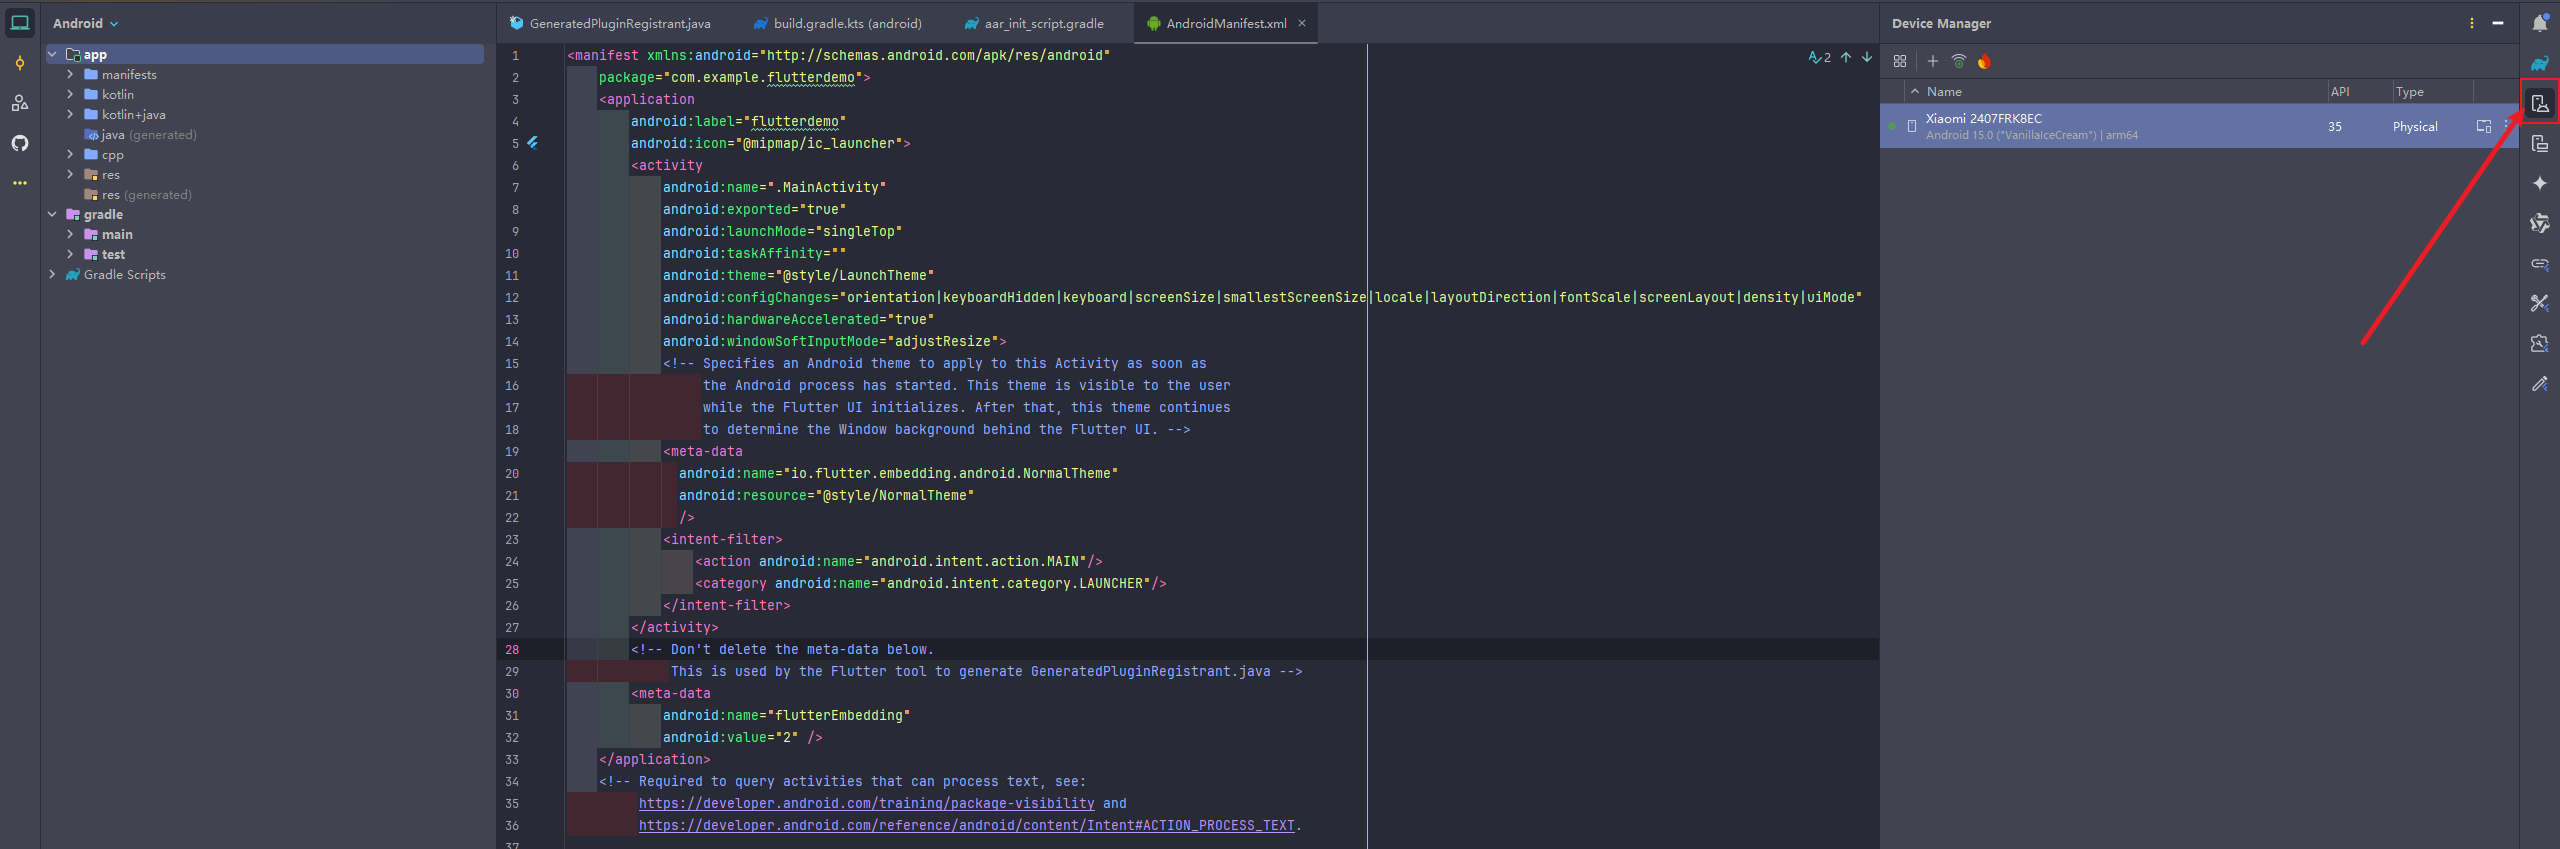
-
点击加号 -> Create Virtual Device
-
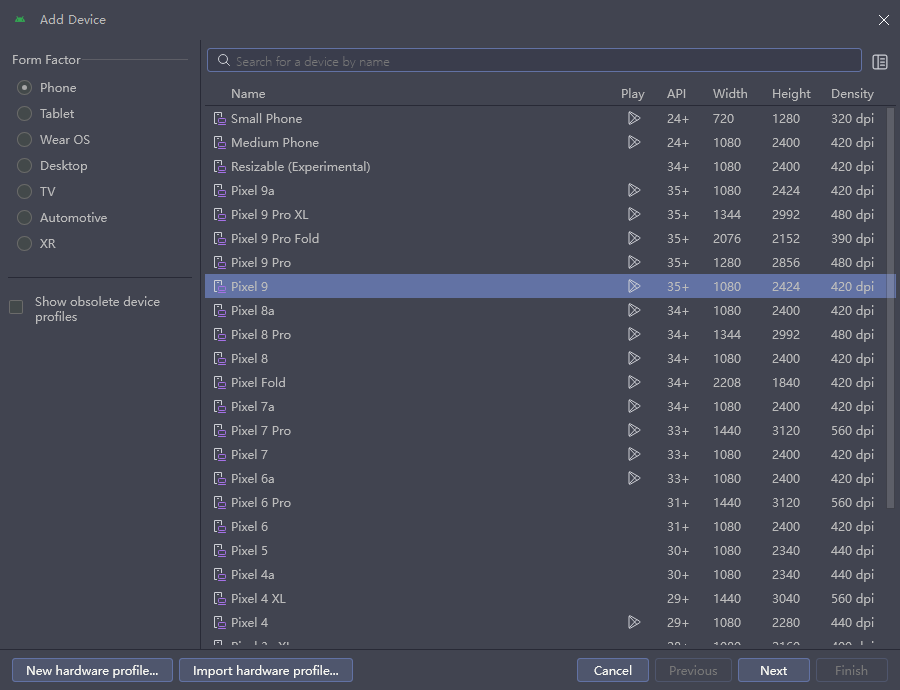
随后随便找一个和自己电脑分辨率相同的设备
-
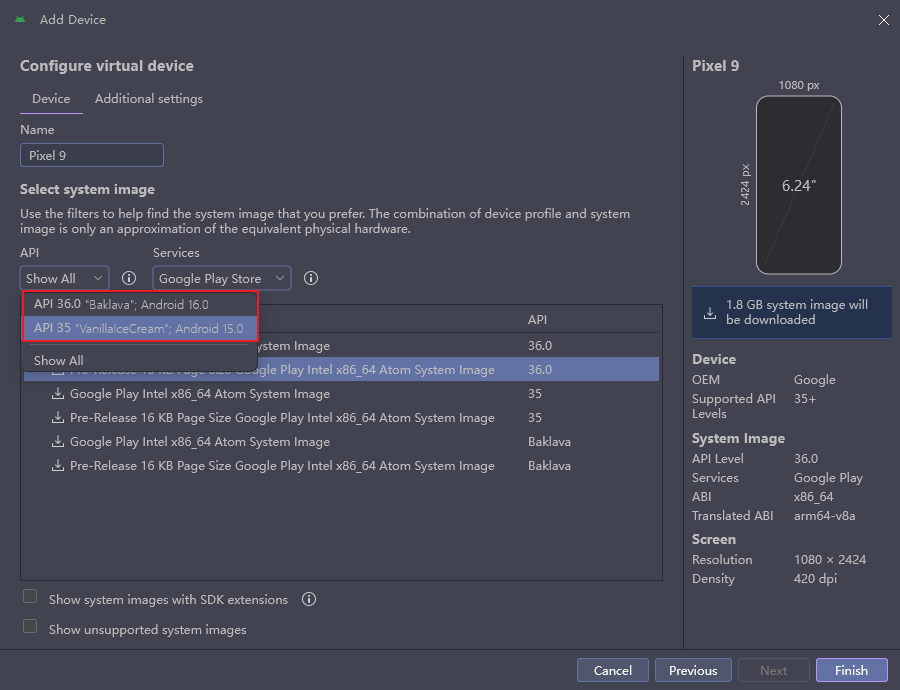
这里可以选择 Android 版本
-
选好后点击 Finish 即可开始下载
-
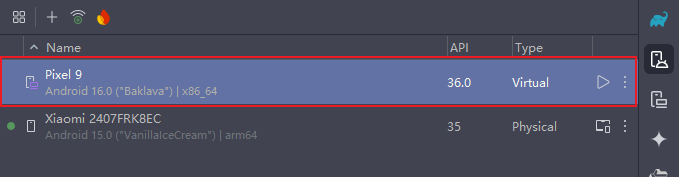
下载好后就可看到这里的设备
-
点击启动稍等一会儿即可进入虚拟机桌面(第一次要装系统所以很慢)
-
在 PowShell 或者 CMD 中输入
flutter devices可以看到真机和虚拟机
使用
flutter run -d all可以将项目运行到所有设备中
7. 使用 VsCode 开发 Flutter
7.1 下载 Flutter 对应插件
- Dart
- Flutter
- Flutter Widget Snippets (提示工具)
- Awesome Flutter Snippets (提示工具)
Tpis: Vscode 打开父工程 Android Studio 打开父工程下的 Android
7.2 常用快捷键
在项目运行时 直接再终端输入
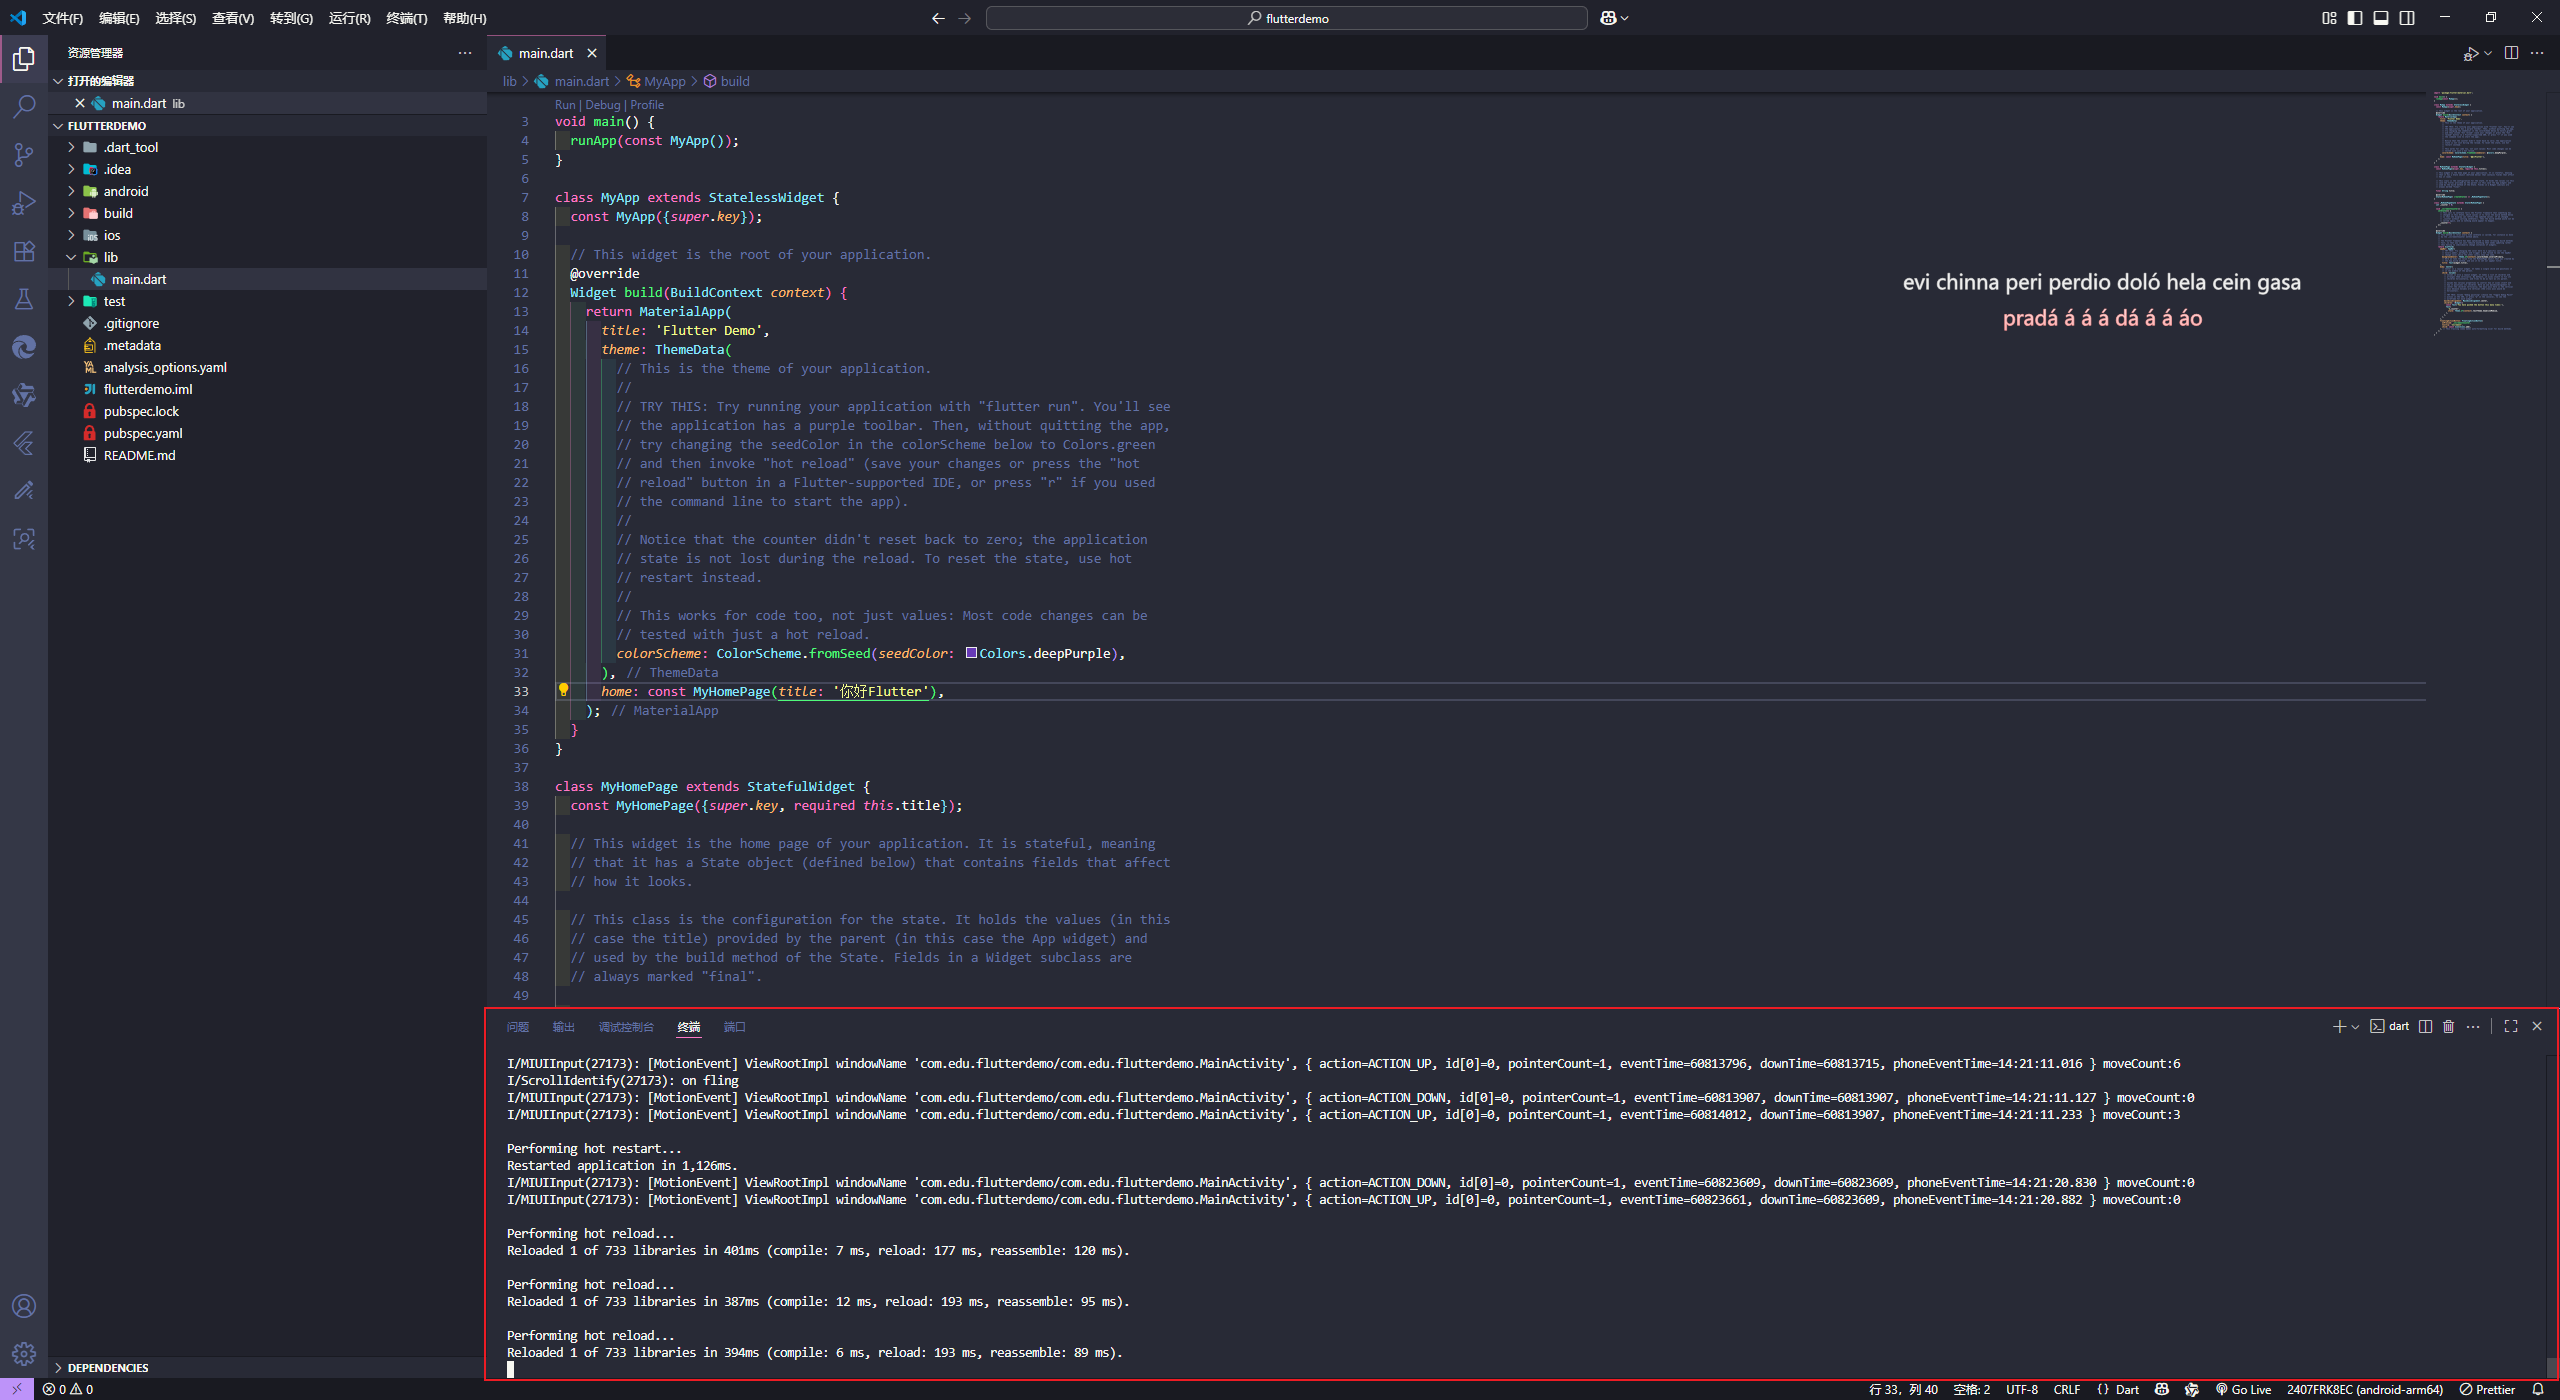
- r 热加载
- R 热重启
- p 打开网格
- o 切换 Android 和 iOS 的预览
- q 退出预览模式 也就是结束运行
2.开发教程
1. Container 容器组件
| 名称 | 功能说明 |
|---|---|
| alignment | 子元素对齐方式 - topCenter:顶部居中对齐 - topLeft:顶部左对齐 - topRight:顶部右对齐 - center:水平垂直居中对齐 - centerLeft:垂直居中、水平居左 - centerRight:垂直居中、水平居右 - bottomCenter:底部居中对齐 - bottomLeft:底部居左对齐 - bottomRight:底部居右对齐 |
| decoration | 设置容器的样式 - color:背景颜色,如 Colors.blue - border:边框,如 Border.all(color: Colors.red, width: 2.0) - borderRadius:圆角,如 BorderRadius.circular(8) - boxShadow:阴影,如 BoxShadow(color: Colors.blue, offset: Offset(2.0, 2.0), blurRadius: 10.0) - 渐变背景: LinearGradient 线性渐变 / RadialGradient 径向渐变 |
| margin | 容器与外部组件的距离,如 EdgeInsets.all(20.0) |
| padding | 容器与子元素之间的内边距,如 EdgeInsets.all(10.0) |
| transform | 容器的变换,如旋转:Matrix4.rotationZ(0.2) |
| height | 容器高度 |
| width | 容器宽度 |
| child | 容器的子元素 |
2. Text 组件
2.1Text 常用属性
| 名称 | 功能说明 |
|---|---|
| textAlign | 文本对齐方式 - center:居中 - left:左对齐 - right:右对齐 - justify:两端对齐 |
| textDirection | 文本方向 - ltr:从左至右 - rtl:从右至左 |
| overflow | 文本超出屏幕后处理方式 - clip:裁剪 - fade:渐隐 - ellipsis:省略号 |
| textScaleFactor | 字体显示倍率(放大或缩小字体) |
| maxLines | 文本显示的最大行数 |
| style | 文本样式,使用 TextStyle 设置 |
2.2TextStyle 常用属性
| 名称 | 功能说明 |
|---|---|
| decoration | 文字装饰线 - none:无装饰 - lineThrough:删除线 - overline:上划线 - underline:下划线 |
| decorationColor | 装饰线颜色 |
| decorationStyle | 装饰线风格 - dashed:虚线 - dotted:点线 - double:双实线 - solid:单实线 - wavy:波浪线 |
| wordSpacing | 单词间距(负值会更紧凑) |
| letterSpacing | 字母间距(负值会更紧凑) |
| fontStyle | 字体样式 - italic:斜体 - normal:正常体 |
| fontSize | 字体大小 |
| color | 字体颜色 |
| fontWeight | 字体粗细 - bold:粗体 - normal:正常体 |
3. 图片组件
Flutter 中,我们可以通过Image组件来加载并显示图片Image的数据源可以是 asset、文件、内存以及 网络
-
Image.asset : 本地图片
-
首先先将图片放入 images 文件夹下 没用则创建
-
找到 pubspec.yaml 并修改
# The following section is specific to Flutter packages.
flutter:
  # The following line ensures that the Material Icons font is
  # included with your application, so that you can use the icons in
  # the material Icons class.
  uses-material-design: true

  # To add assets to your application, add an assets section, like this:
  assets:
    - images/2.0x/a.jpeg
    - images/3.0x/a.jpeg
    - images/a.jpeg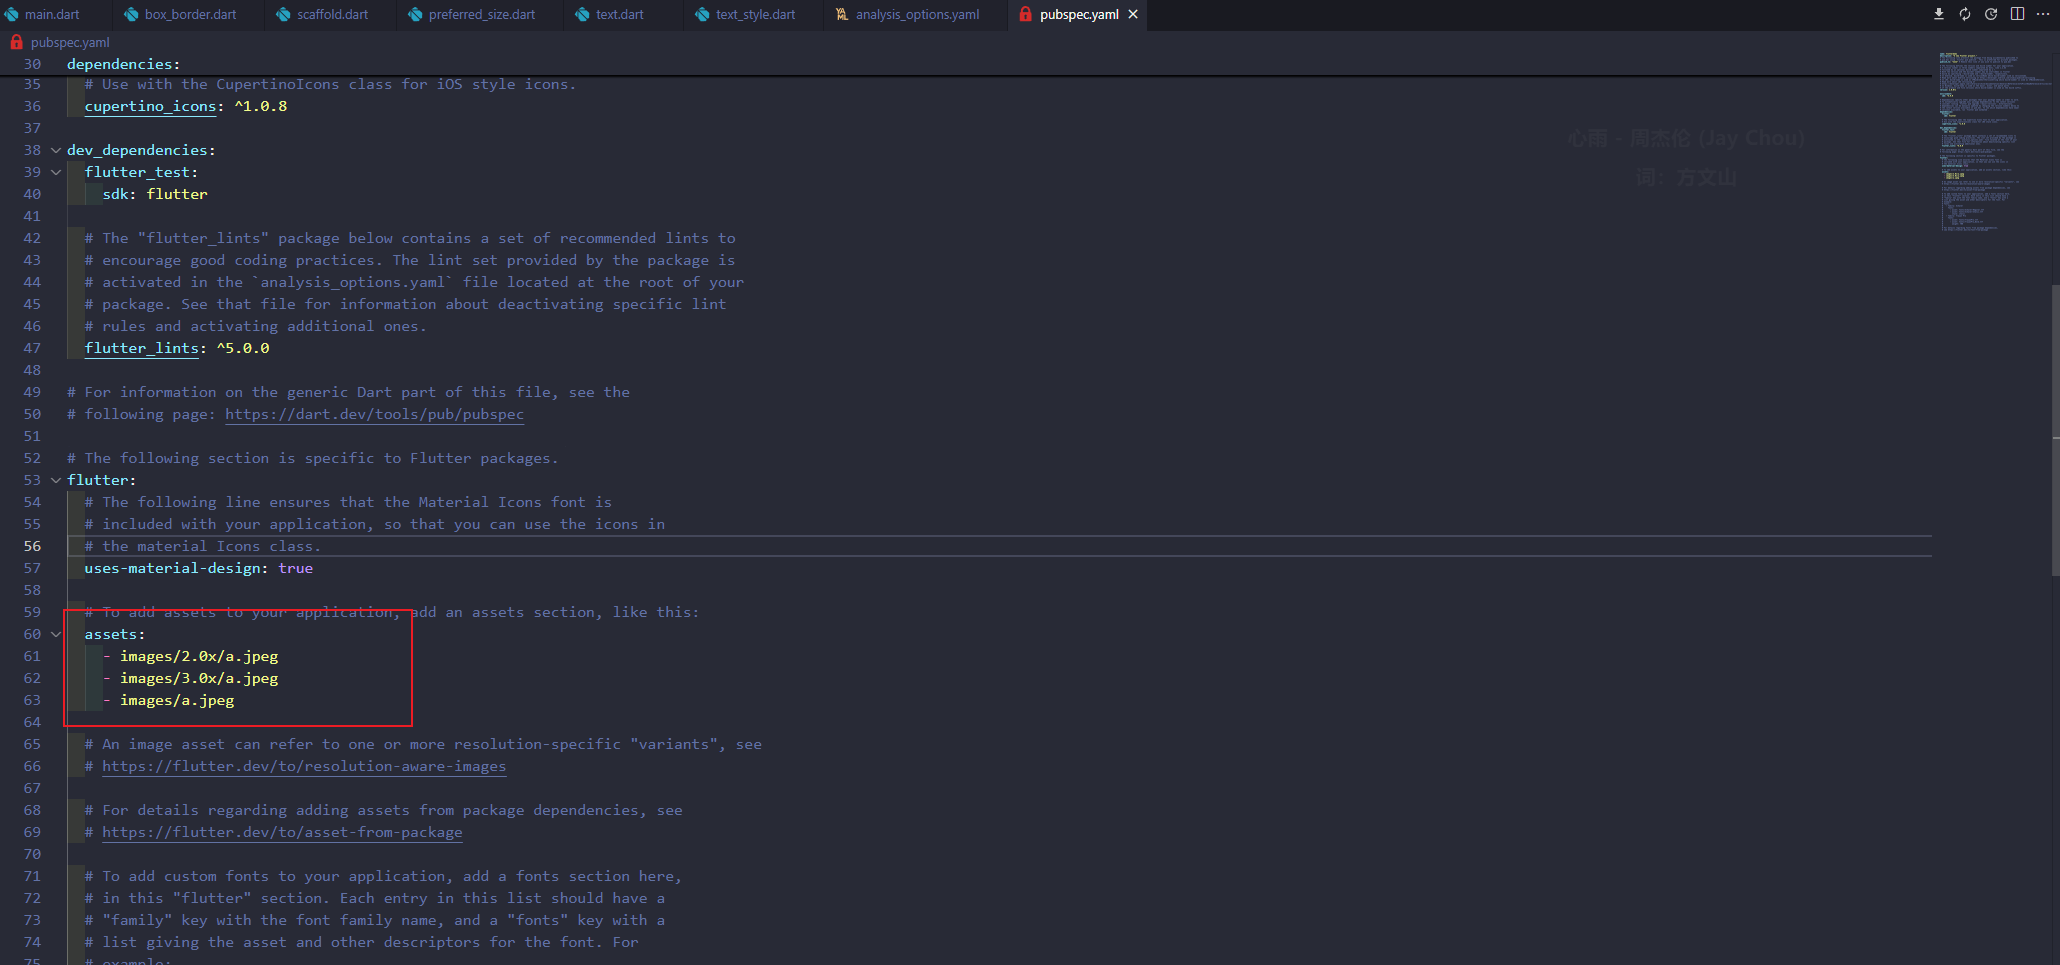
class LocalImage extends StatelessWidget { const LocalImage({super.key}); @override Widget build(BuildContext context) { return Container( width: 200, height: 200, decoration: BoxDecoration(color: Colors.blueAccent), child: Image.asset("images/a.jpeg", fit: BoxFit.cover), ); } } -
-
Image.network : 远程图片
class MyImg extends StatelessWidget {
  const MyImg({super.key});

  @override
  Widget build(BuildContext context) {
    return Center(
      child: Container(
        width: 100,
        height: 100,
        child: Image.network(
          "https://xiayh.top/upload/thumbnails/2025/w800/DM20250828171248001.png",
          scale: 2,
          fit: BoxFit.cover,
        ),
      ),
    );
  }
}
Image 组件的常用属性
| 名称 | 类型 | 功能说明 |
|---|---|---|
| alignment | Alignment | 图片的对齐方式(如 Alignment.center、Alignment.topLeft 等) |
| color + colorBlendMode | Color + BlendMode | 设置图片背景色并与图片颜色混合 示例:绿色背景 + 红色图片 = 颜色混合效果 |
| fit | BoxFit | 控制图片的拉伸与缩放方式 - fill:图片拉伸并充满容器,可能变形 - contain:等比例缩放,完整显示,可能留空隙 - cover:等比例缩放,充满容器,可能裁剪 - fitWidth:宽度充满,可能裁剪 - fitHeight:高度充满,可能裁剪 - scaleDown:类似 contain,但不会超过原图大小 |
| repeat | ImageRepeat | 图片平铺方式 - repeat:横向纵向都重复 - repeatX:仅横向重复 - repeatY:仅纵向重复 |
| width | double | 图片宽度(常与 ClipOval 搭配裁剪成圆形) |
| height | double | 图片高度(常与 ClipOval 搭配裁剪成圆形) |
更多属性参考:https://api.flutter.dev/flutter/widgets/Image-class.html
4. 图标组件
4.1 使用官方组件
Material Design 所有图标可以在其官网查看:https://material.io/tools/icons/
class MyIcon extends StatelessWidget {
  const MyIcon({super.key});

  @override
  Widget build(BuildContext context) {
    return Column(
      children: [
        SizedBox(height: 20),
        Icon(Icons.adobe, size: 60, color: Colors.pinkAccent),
        SizedBox(height: 10),
        Icon(
          CupertinoIcons.link_circle_fill,
          size: 60,
          color: Colors.blueAccent,
        )
      ],
    );
  }
}
4.2 导入外部 Icon 图标
在阿里巴巴矢量图标库内有许多图标可以下载并导入使用
-
官网地址: https://www.iconfont.cn/
-
选择好图标后选择下载代码
-
将文件内的
.ttf和.json文件放入项目根目录下的 fonts/ -
找到
pubspec.yaml->fonts打开并修改fonts: # 取名 - family: myIcon fonts: # .ttf 的位置 - asset: fonts/iconfont.ttf也可以配置多个字体文件:
fonts: - family: myIcon fonts: - asset: fonts/iconfont.ttf - family: myIcon2 fonts: - asset: fonts/kcgfks8r4ciconfont.ttf -
为了方便使用 定义一个 MyIcon 类(名字任取
import 'package:flutter/material.dart'; class Myfont { static const IconData steam = IconData( // 0x+json文件的unicode字段 表示为16 0xe61b, fontFamily: "myIcon", matchTextDirection: true, ); static const IconData apex = IconData( 0xe691, fontFamily: "myIcon", matchTextDirection: true, ); static const IconData warframe = IconData( 0xe602, fontFamily: "myIcon", matchTextDirection: true, ); } -
使用
class MyIcon extends StatelessWidget {
  const MyIcon({super.key});

  @override
  Widget build(BuildContext context) {
    return Column(
      children: [
        SizedBox(height: 10),
        Icon(Myfont.steam, size: 20, color: Colors.deepPurpleAccent),
        SizedBox(height: 10),
        Icon(Myfont.apex, size: 50, color: Colors.deepPurpleAccent),
        SizedBox(height: 10),
        Icon(Myfont.warframe, size: 50, color: Colors.deepPurpleAccent),
      ],
    );
  }
}
5. Flutter 列表组件
列表布局是我们项目开发中最常用的一种布局方式。Flutter 中我们可以通过 ListView 来定义列表项,支 持垂直和水平方向展示。通过一个属性就可以控制列表的显示方向。列表有以下分类:
- 垂直列表
- 垂直图文列表
- 水平列表
- 动态列表
常用属性
| 名称 | 类型 | 说明 |
|---|---|---|
| scrollDirection | Axis | 滚动方向 - Axis.horizontal:水平列表 - Axis.vertical:垂直列表(默认) |
| padding | EdgeInsetsGeometry | 内边距,如:EdgeInsets.all(10) |
| reverse | bool | 是否反向排序 - false:正序(默认) - true:反序(列表内容从尾到头显示) |
| children | List<Widget> | 列表子元素(一般是 List<Widget>) |
5.1 垂直列表
// List列表
class MyIcon extends StatelessWidget {
  const MyIcon({super.key});

  @override
  Widget build(BuildContext context) {
    return ListView(
      children: const <Widget>[
        ListTile(
            title: Text("我是一个标题"),
        ),
        ListTile(
            title: Text("我是一个标题"),
        ),
        ListTile(
            title: Text("我是一个标题"),
        ),
        ListTile(
            title: Text("我是一个标题"),
        ),
      ],
    );
  }
}
5.1.1 垂直图标和图文列表
-
图标列表
class MyIcon extends StatelessWidget { const MyIcon({super.key}); @override Widget build(BuildContext context) { return ListView( children: const <Widget>[ ListTile( leading: Icon(Icons.home), title: Text("主页"), trailing: Icon(Icons.chevron_right), ), Divider(), ListTile( leading: Icon(Icons.assignment), title: Text("订单"), trailing: Icon(Icons.chevron_right), ), Divider(), ], ); } } -
图文列表
class news extends StatelessWidget {
  const news({super.key});

  @override
  Widget build(BuildContext context) {
    return ListView(
      padding: EdgeInsets.fromLTRB(0, 10, 0, 10),
      children: <Widget>[
        ListTile(
          leading: Image.network(
            "https://img-s.msn.cn/tenant/amp/entityid/AA1LbsBs.img?w=768&h=327&m=6",
          ),
          title: Text("微信悄悄上线AI播客,“真人”唠嗑给你讲新闻"),
        ),
        Divider(),
        ListTile(
          title: Text("AI重塑新闻版图:人类编辑与AI共舞的新时代"),
          trailing: Image.network(
            "https://img-s.msn.cn/tenant/amp/entityid/AA1L8o2z.img?w=400&h=300&m=6",
          ),
        ),
        Divider(),
        ListTile(
          leading: Image.network(
            "https://img-s.msn.cn/tenant/amp/entityid/AA1Lcm9i.img?w=400&h=300&m=6",
          ),
          title: Text("微信AI播客新功能:双主播对话形式,让新闻更“动听”"),
        ),
        Divider(),
      ],
    );
  }
}
class ListImg extends StatelessWidget { const ListImg({super.key}); @override Widget build(BuildContext context) { return ListView( padding: EdgeInsets.fromLTRB(0, 10, 0, 10), children: <Widget>[ Image.network("https://www.itying.com/images/flutter/1.png"), Container( margin: EdgeInsets.fromLTRB(0, 5, 0, 10), height: 44, child: Text( "I am Flutter Title", textAlign: TextAlign.center, style: TextStyle(fontSize: 22), ), ), Image.network("https://www.itying.com/images/flutter/2.png"), Container( margin: EdgeInsets.fromLTRB(0, 5, 0, 10), height: 44, child: Text( "I am Flutter Title", textAlign: TextAlign.center, style: TextStyle(fontSize: 22), ), ), Image.network("https://www.itying.com/images/flutter/3.png"), Container( margin: EdgeInsets.fromLTRB(0, 5, 0, 10), height: 44, child: Text( "I am Flutter Title", textAlign: TextAlign.center, style: TextStyle(fontSize: 22), ), ), Image.network("https://www.itying.com/images/flutter/4.png"), Container( margin: EdgeInsets.fromLTRB(0, 5, 0, 10), height: 44, child: Text( "I am Flutter Title", textAlign: TextAlign.center, style: TextStyle(fontSize: 22), ), ), Image.network("https://www.itying.com/images/flutter/5.png"), Container( margin: EdgeInsets.fromLTRB(0, 5, 0, 10), height: 44, child: Text( "I am Flutter Title", textAlign: TextAlign.center, style: TextStyle(fontSize: 22), ), ), Image.network("https://www.itying.com/images/flutter/6.png"), Container( margin: EdgeInsets.fromLTRB(0, 5, 0, 10), height: 44, child: Text( "I am Flutter Title", textAlign: TextAlign.center, style: TextStyle(fontSize: 22), ), ), Image.network("https://www.itying.com/images/flutter/7.png"), Container( margin: EdgeInsets.fromLTRB(0, 5, 0, 10), height: 44, child: Text( "I am Flutter Title", textAlign: TextAlign.center, style: TextStyle(fontSize: 22), ), ), ], ); } }
5.1.2 水平列表
class ListGoods extends StatelessWidget {
  const ListGoods({super.key});

  @override
  Widget build(BuildContext context) {
    return SizedBox(
      height: 2000,
      child: ListView(
        scrollDirection: Axis.horizontal,
        padding: EdgeInsets.all(5),
        children: <Widget>[
          Container(
            width: 150,
            padding: EdgeInsets.fromLTRB(0, 0, 5, 0),
            child: Column(
              children: [
                Image.network(
                  "https://www.itying.com/images/flutter/1.png",
                  fit: BoxFit.cover,
                ),
                Text("¥ 1000", style: TextStyle(fontSize: 22)),
              ],
            ),
          ),
          Container(
            width: 150,
            padding: EdgeInsets.fromLTRB(0, 0, 5, 0),
            child: Column(
              children: [
                Image.network(
                  "https://www.itying.com/images/flutter/2.png",
                  fit: BoxFit.cover,
                ),
                Text("¥ 1000", style: TextStyle(fontSize: 22)),
              ],
            ),
          ),
          Container(
            width: 150,
            padding: EdgeInsets.fromLTRB(0, 0, 5, 0),
            child: Column(
              children: [
                Image.network(
                  "https://www.itying.com/images/flutter/3.png",
                  fit: BoxFit.cover,
                ),
                Text("¥ 1000", style: TextStyle(fontSize: 22)),
              ],
            ),
          ),
          Container(
            width: 150,
            padding: EdgeInsets.fromLTRB(0, 0, 5, 0),
            child: Column(
              children: [
                Image.network(
                  "https://www.itying.com/images/flutter/4.png",
                  fit: BoxFit.cover,
                ),
                Text("¥ 1000", style: TextStyle(fontSize: 22)),
              ],
            ),
          ),
          Container(
            width: 150,
            padding: EdgeInsets.fromLTRB(0, 0, 5, 0),
            child: Column(
              children: [
                Image.network(
                  "https://www.itying.com/images/flutter/5.png",
                  fit: BoxFit.cover,
                ),
                Text("¥ 1000", style: TextStyle(fontSize: 22)),
              ],
            ),
          ),
          Container(
            width: 150,
            padding: EdgeInsets.fromLTRB(0, 0, 5, 0),
            child: Column(
              children: [
                Image.network(
                  "https://www.itying.com/images/flutter/6.png",
                  fit: BoxFit.cover,
                ),
                Text("¥ 1000", style: TextStyle(fontSize: 22)),
              ],
            ),
          ),
        ],
      ),
    );
  }
}